
The Friendliest Arch Linux Installation Guide on the Interwebs
I’ve had a few friends that wanted to try out Arch Linux but have given up after the grueling installation process. In this post I demonstrate, with screenshots, how I usually perform a fresh Arch Linux installation.
This guide (like most Arch installation guides) is really just a simplified version of what’s on the wiki here, so consider referring to it as well.
Prelude
Download an Arch Linux ISO (I’m using archlinux-2016.12.01-dual.iso for this tutorial).
I then use dd to make a bootable USB drive. You can view a guide on how to do this in your OS here.
Pre-installation
Boot and check internet
Boot the Arch Linux image.
Select Boot Arch Linux (x86_64).
You’ll be automatically logged in on a console, as root
Make sure your internet connection is working:
ping -c 4 google.com
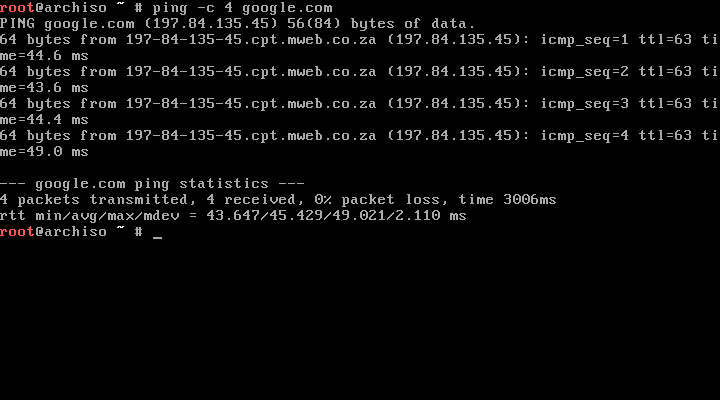
If it’s not working you’ll need to fix this before continuing.
If you’re using wifi, you’ll need to configure a connection to it. First, we’ll use wifi-menu to create a connection profile.
wifi-menu -oFollow the prompts.
That should have established a connection (test with ping google.com). If not, follow the steps below.
List your profiles using
netctl listOnce you have identified the name of your newly created profile, establish a connection
netctl start wpl1s0-myconnectionPartition the hard drive
Check your current partitions with
fdisk -l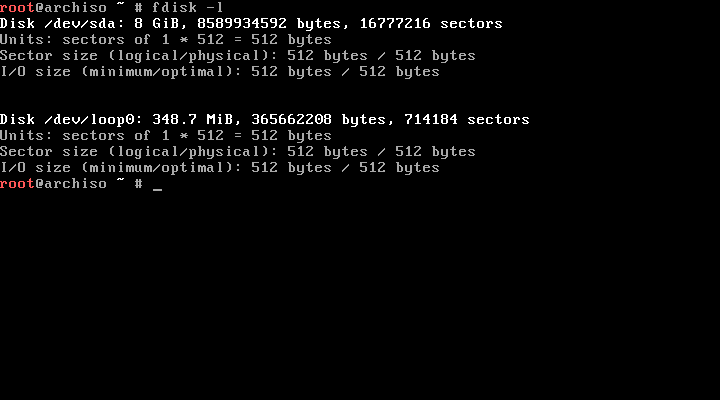
Each hard drive is assigned to a block device such as /dev/sda, /dev/sdb, /dev/sdc etc.
You can ignore /dev/loop0 - it’s used to mount the image that we just booted from (so its files can be accessed).
I’ll be installing Arch on /dev/sda, an 8GB hard drive.
I like to use cfdisk to create the partitions
cfdiskYou can also use other tools such as fdisk or parted, etc.
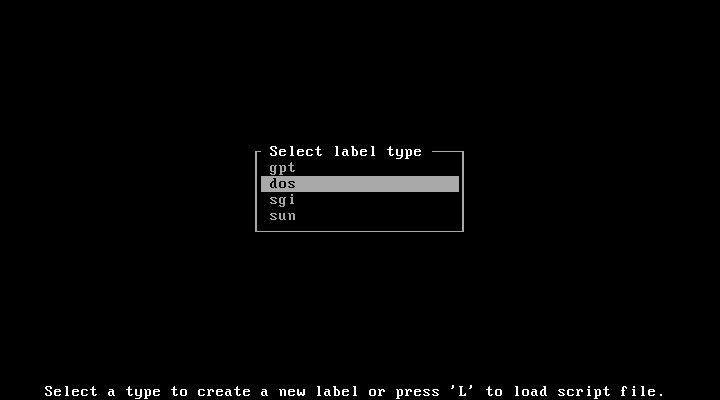
Select dos as the label type
Choose gpt for harddisks bigger than 2 TB and machines using UEFI (instead of BIOS) - otherwise, just choose dos.
I’m only going to create 1 partition for the root directory (/)
It’s optional to create a separate partition for swap space, but I don’t because I hardly use swap (my PC’s have lots of ram - 12GB+) and thus don’t mind having sub-optimal swap file performance (you can still create a swap file on your root parition, its just slightly less efficient than allocating a partition to it)
There are many more complicated partitioning schemes for varying purposes which you can explore on the Arch Wiki partitioning page
At this point, you may have to delete/modify some of your old partitions first, remember to be careful when doing this.
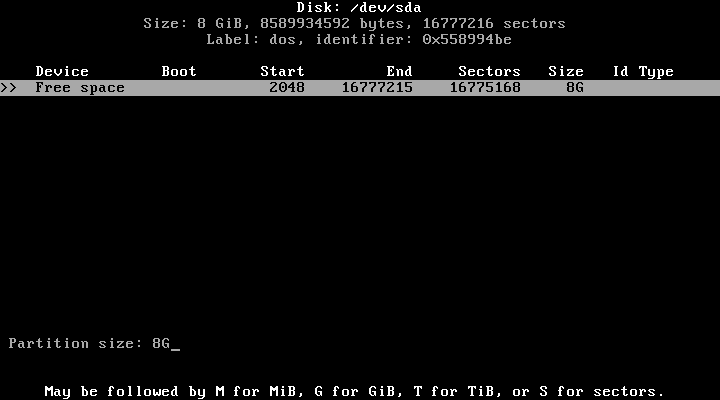
Select New

Enter the partition size. I assign the entire free space for this partition.
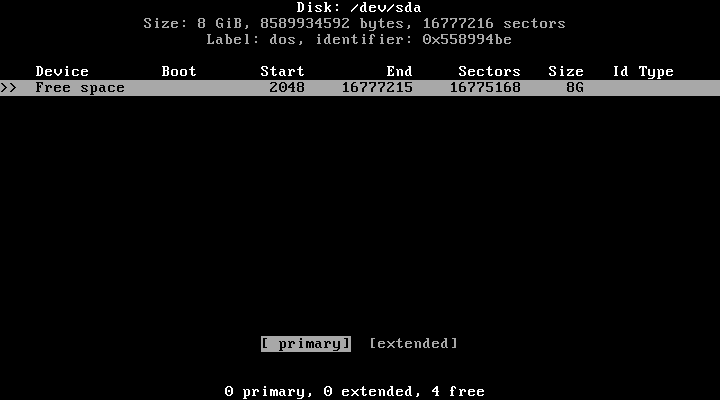
Make the partition primary - you can only boot an operating system from a primary partition
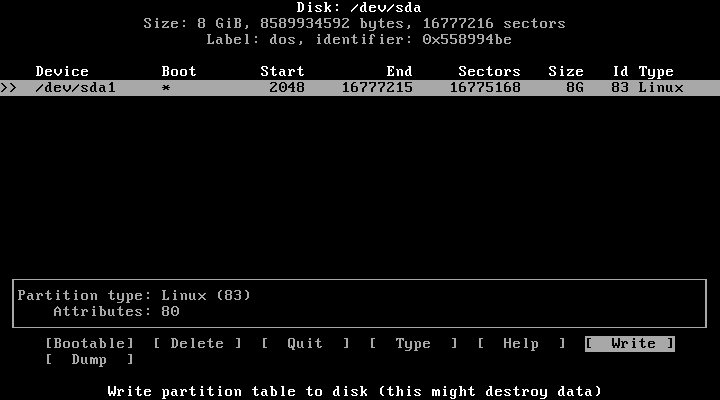
Select bootable to make this partition a bootable partition.
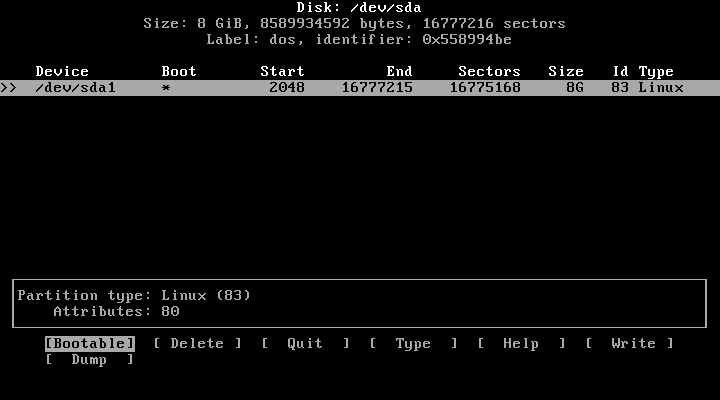
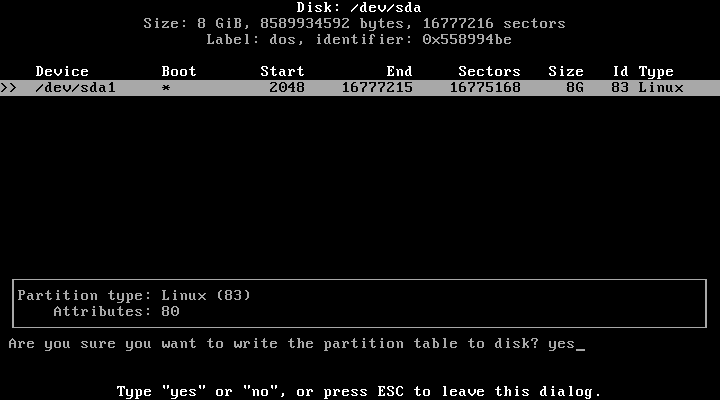
Select write to write the partition changes
Type Yes
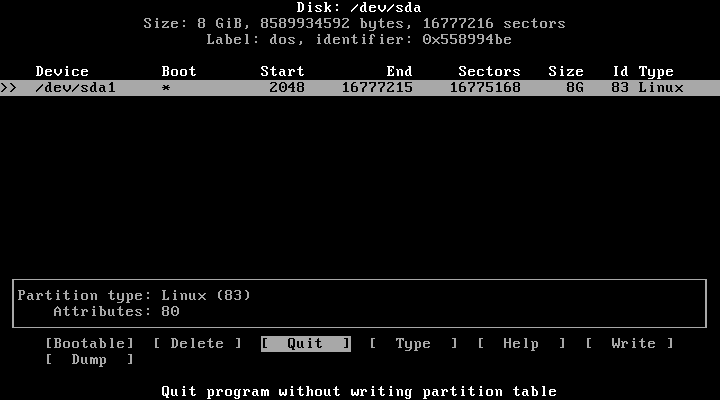
Select Quit to exit the partition manager
Verify the partitions using fdisk -l
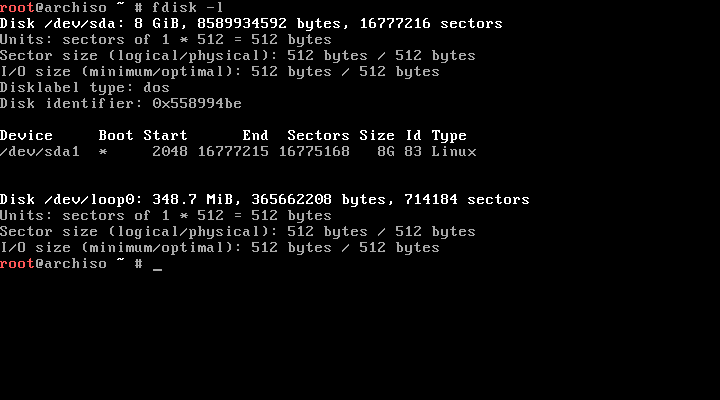
Note that hard drive partitions are represented by an additional number on the block device, i.e. the 1st partition on the drive is /dev/sda1, 2nd partition is /dev/sda2 etc.
Format (create filesystem on) the primary partition using
mkfs.ext4 /dev/sda1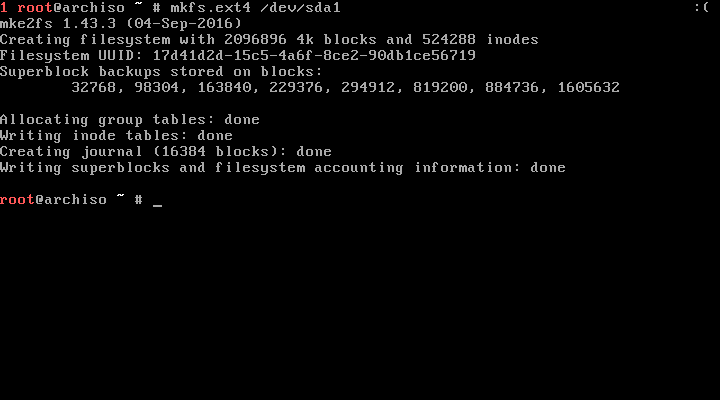
Install Arch Linux base system
Mount the primary partition that we just created to /mnt
mount /dev/sda1 /mnt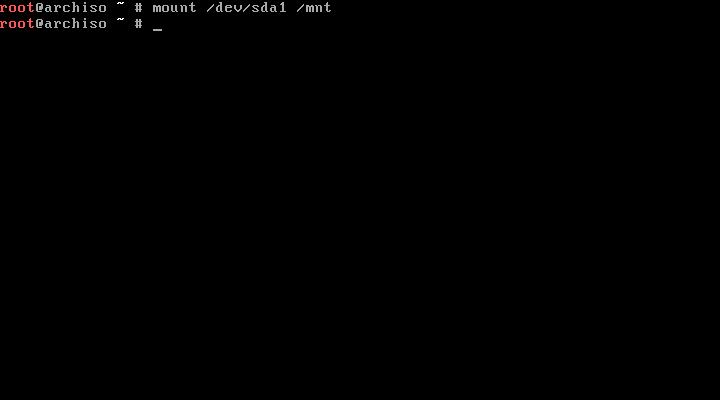
Select the mirrors that the Arch base packages will be downloaded from. This step isn’t mandatory but highly recommended.
Using nano, find all the mirrors from your country and move them to the top of the list
nano /etc/pacman.d/mirrorlist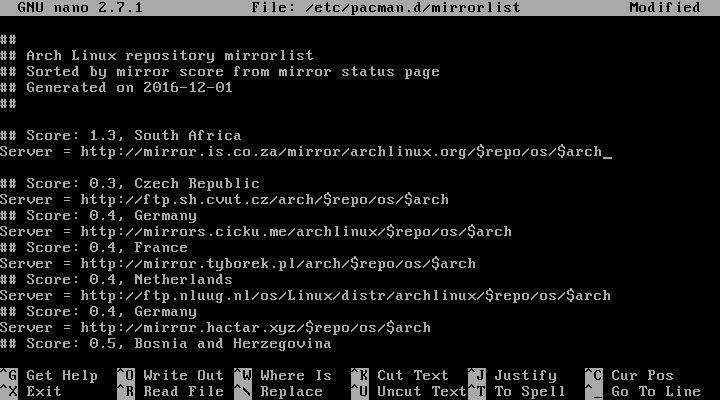
Note that nano displays some handy commands at the bottom such as “Where Is” and “Cut Text”. The ^ symbol refers to the Ctrl key.
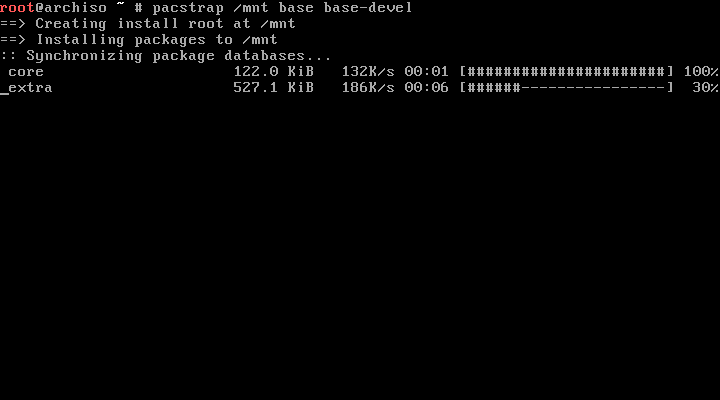
Now install the Arch Linux base packages
pacstrap /mnt base base-develThis will automatically download and install all the required packages
Configure system
Generate fstab
Create an fstab file
genfstab /mnt >> /mnt/etc/fstabShort for ‘file system table’ it describes how your partitions should be automatically mounted in the filesystem. In our case its just mounting the partition /dev/sda1 to the root, /, dir.
Manually verify the fstab entries
cat /mnt/etc/fstab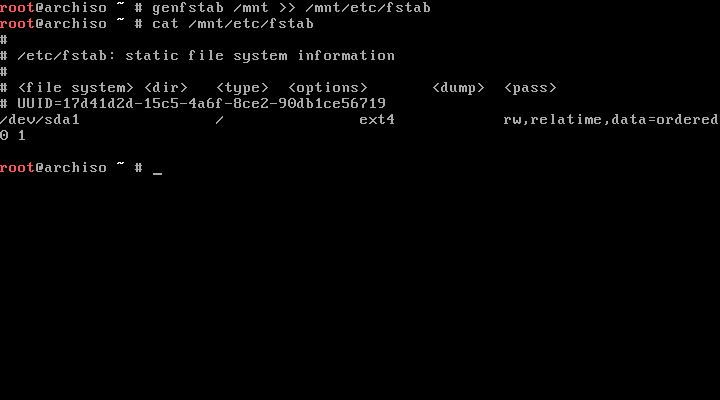
If you notice something wrong with it (such as duplicate entries from running genfstab twice), then just edit the fstab file and correct it.
Chroot
Switch to the newly installed system (starts a new interactive shell with /mnt as the root dir)
arch-chroot /mnt /bin/bash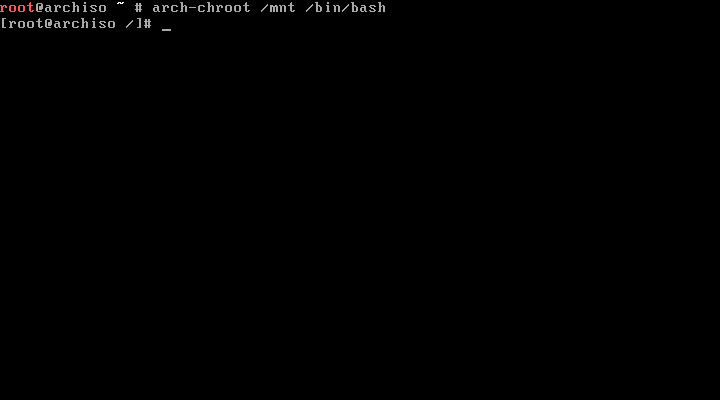
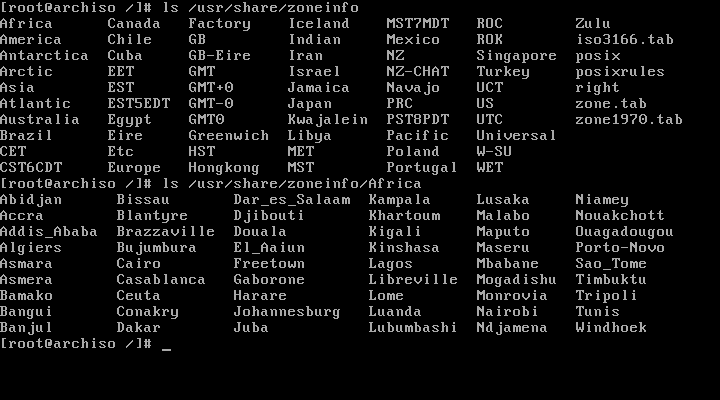
Set the time zone
First list the available timezones
ls /usr/share/zoneinfo/My time region is Africa/Johannesburg
Now set the timezone
ln -s /usr/share/zoneinfo/Africa/Johannesburg /etc/localtimeGenerate /etc/adjtime
hwclock --systohc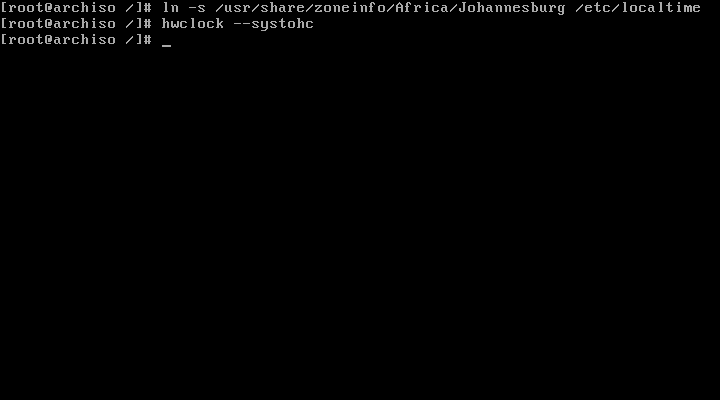
Configure locale (system language)
Edit /etc/locale.gen and uncomment en_US.UTF-8 UTF-8
nano /etc/locale.gen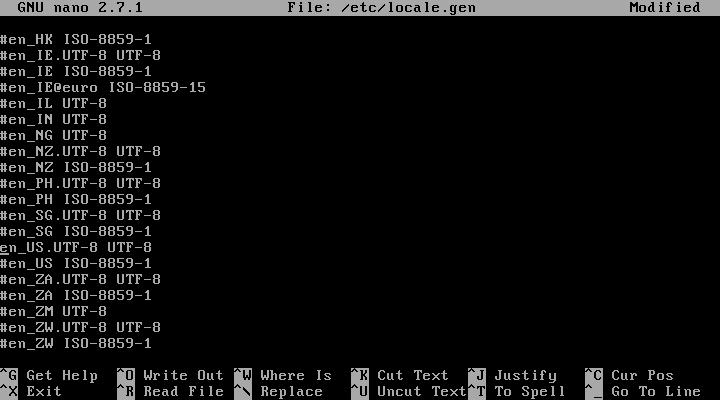
Generate locales
locale-gen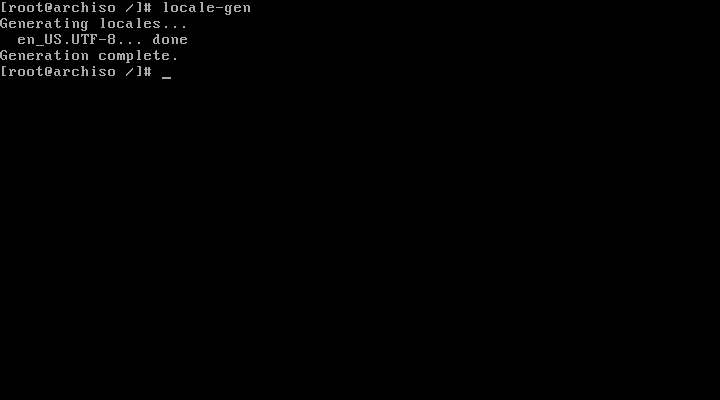
Create /etc/locale.conf and add LANG=en_US.UTF-8
nano /etc/locale.conf
Hostname
Set your hostname
nano /etc/hostname
Set the same hostname in /etc/hosts
nano /etc/hosts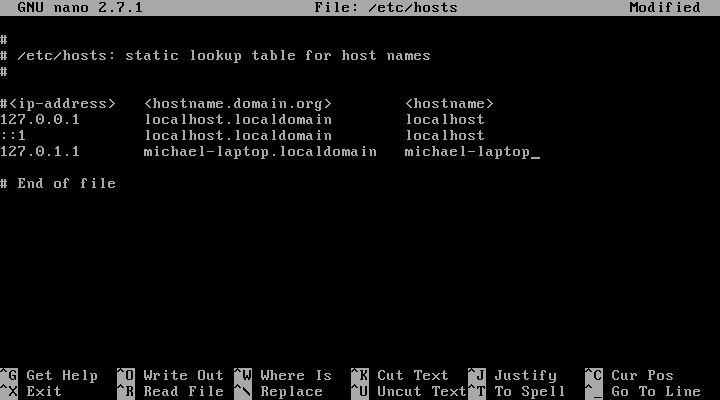
Network
Make network connections persistent (runs on startup)
systemctl enable dhcpcd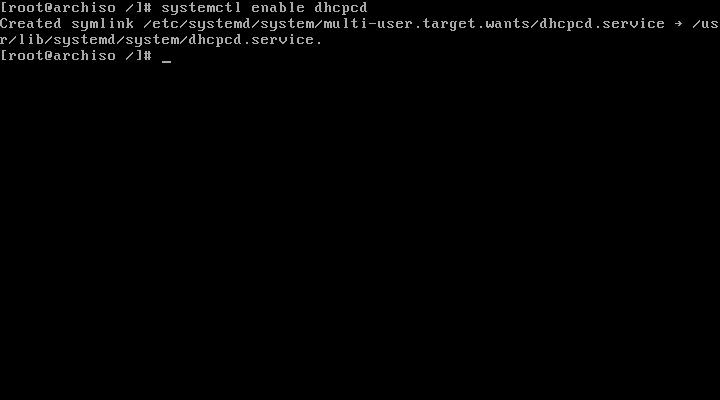
If you’re using wifi install the following packages so you can connect to the wifi after rebooting.
pacman -S iw wpa_supplicant dialog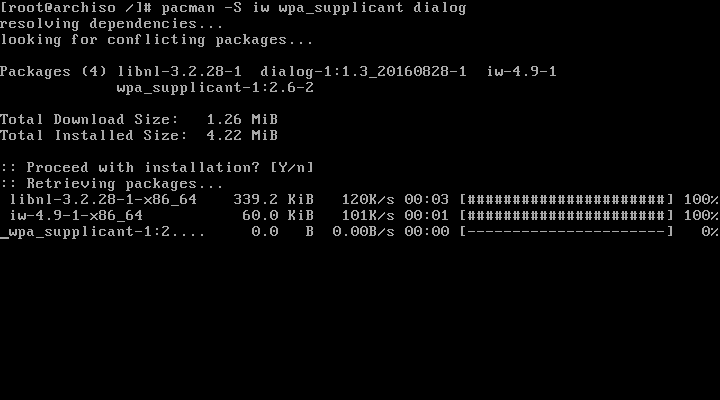
Root password
Set the root password
passwd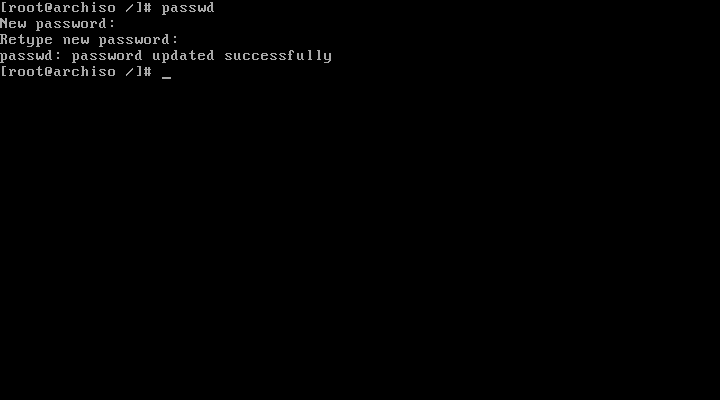
Install the boot loader (GRUB)
Install GRUB. If you have more than 1 OS on your machine, os-prober will take care of that and automatically add the other OS’s to your grub menu.
pacman -S grub os-prober
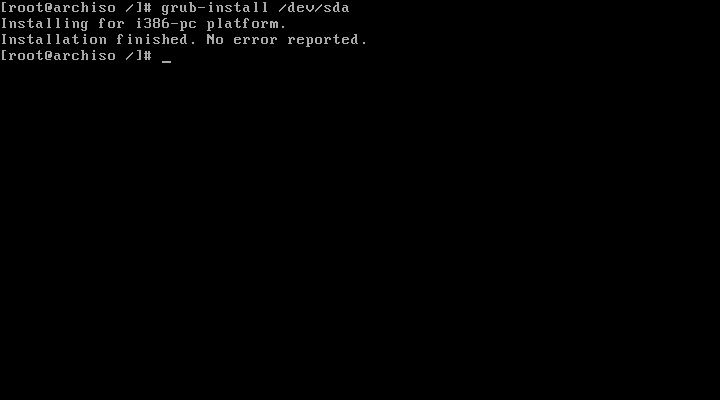
grub-install /dev/sda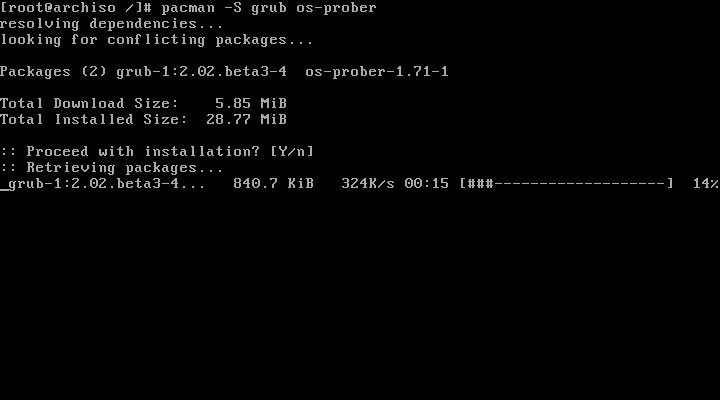
Generate a GRUB configuration file
grub-mkconfig -o /boot/grub/grub.cfg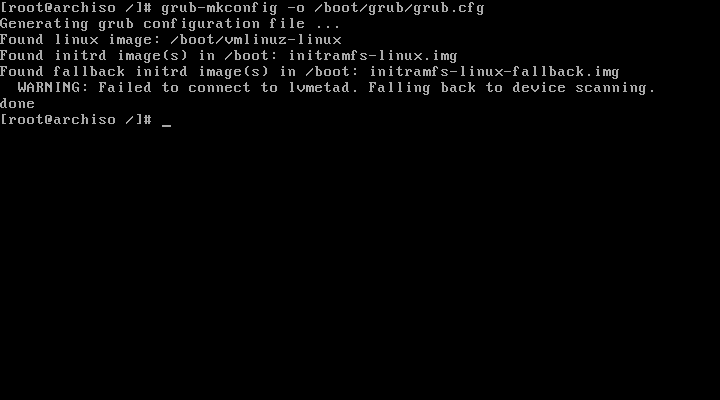
Reboot
Finally, exit from the chroot, unmount the partitions and reboot your Arch Linux. Make sure you have removed the installation media too.
exit
umount /mnt
reboot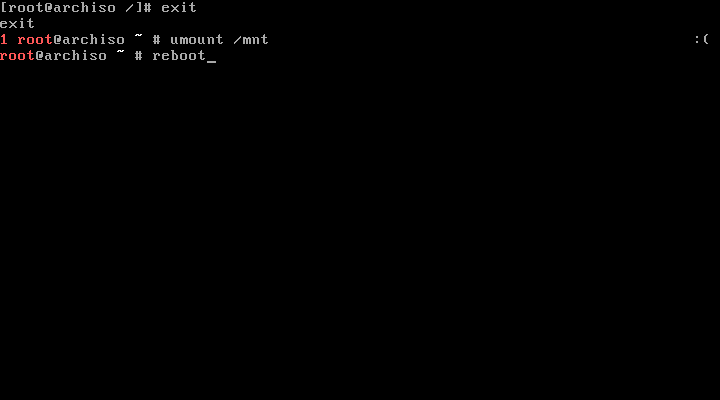
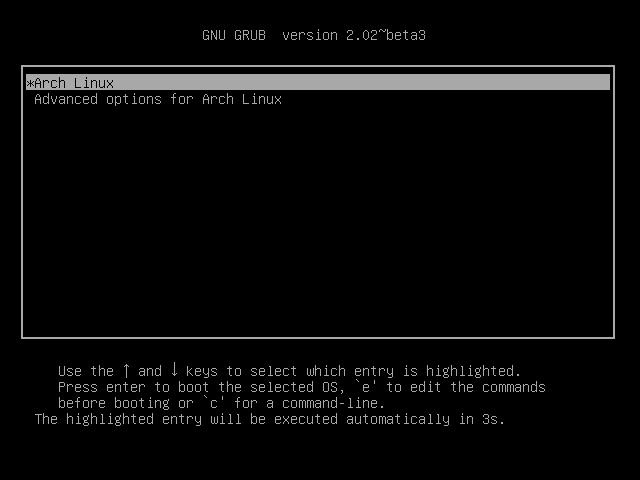
Select Arch Linux from the boot menu
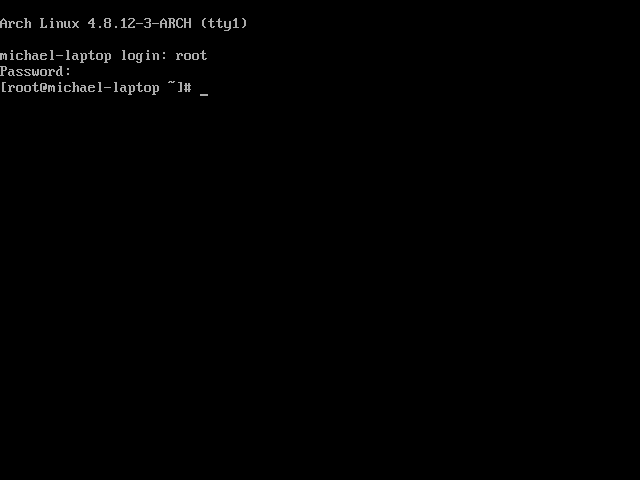
Log in to your newly installed Arch system as root user and password that you made during installation.
Post installation
Wifi connection
If you’re using wifi, you’ll need to establish a connection again using the same method as earlier (wifi-menu, netctl etc.).
Package management
Enable multilib repository. This is necessary to run 32-bit applications on our 64-bit installation of Arch Linux.
nano /etc/pacman.confUncomment:
[multilib]
Include = /etc/pacman.d/mirrorlist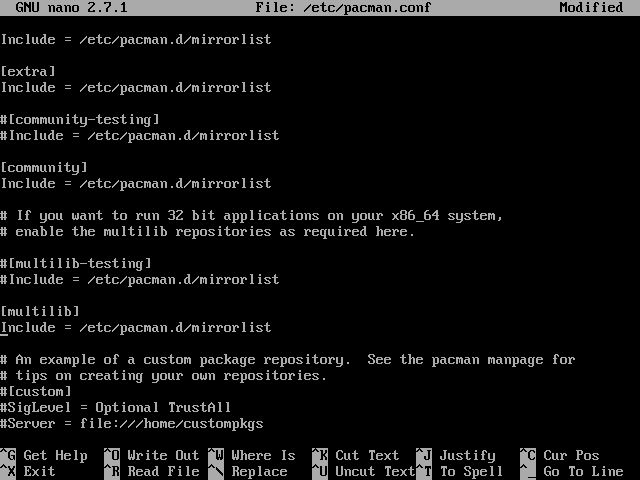
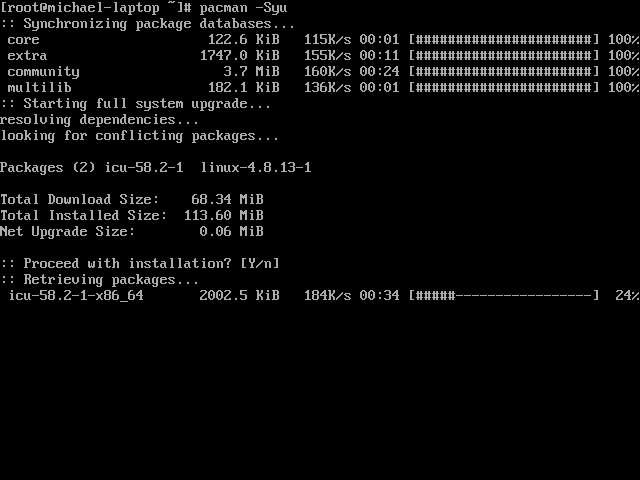
Then update the package list and upgrade with pacman -Syu
Users and groups
Create a new normal user
useradd -m -g users -G wheel,storage,power -s /bin/bash michaelAnd set the password for the account
passwd michael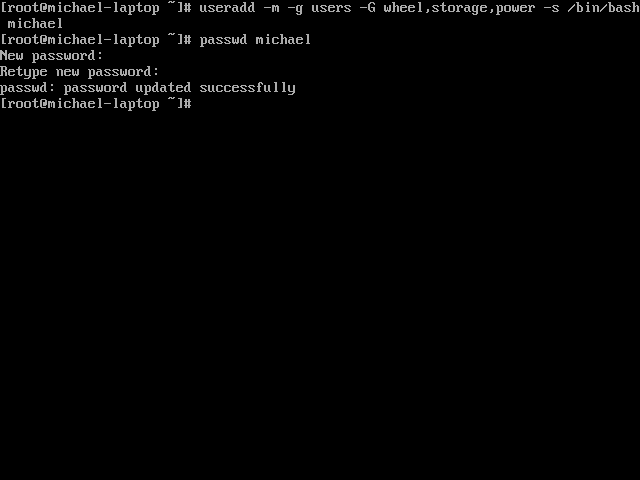
Check that you have sudo installed so our normal user can perform administrative tasks (it should have already been installed from the base-devel package group which we installed earlier)
pacman -S sudo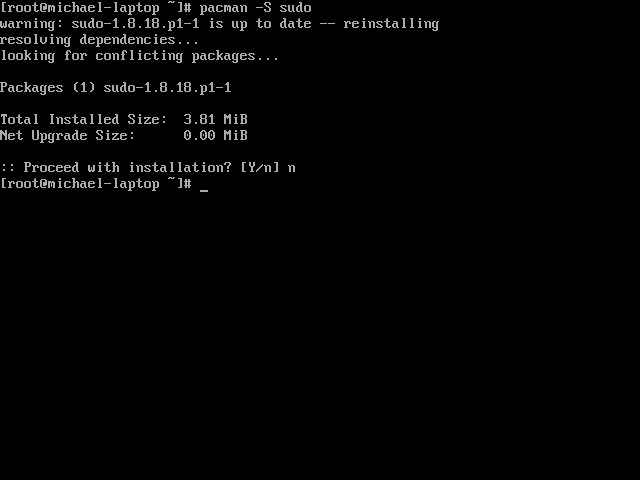
Add the new user michael to the sudoers group
EDITOR=nano visudoUncomment
%wheel ALL=(ALL) ALL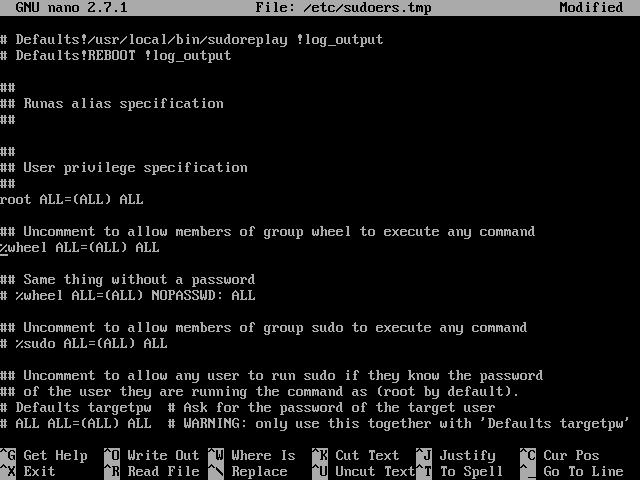
Now all users in wheel group can use sudo (thats why we added michael to wheel earlier)
Install desktop environment (kde)
Install Xorg first (this is a display server required for kde, and pretty much any GUI application)
pacman -S xorg xorg-xinit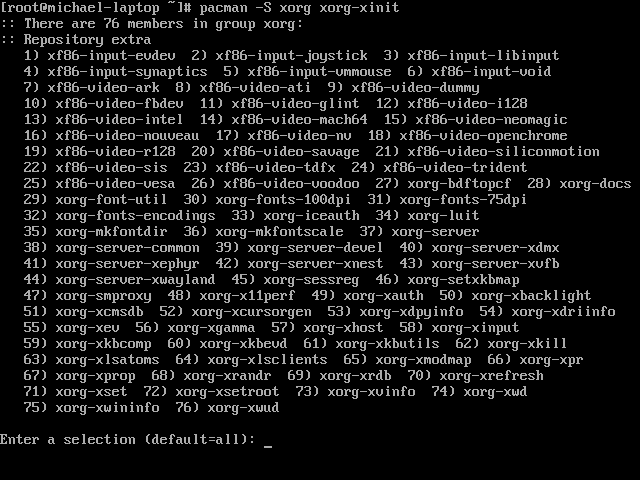
The package group xorg installs a bunch of video drivers so you don’t have to worry about manually finding yours.
Install kde plasma 5
pacman -S plasma
Start SDDM on startup. SDDM is a display manager installed from the plasma package group. It is a login GUI displayed at the end of the boot process.
systemctl enable sddm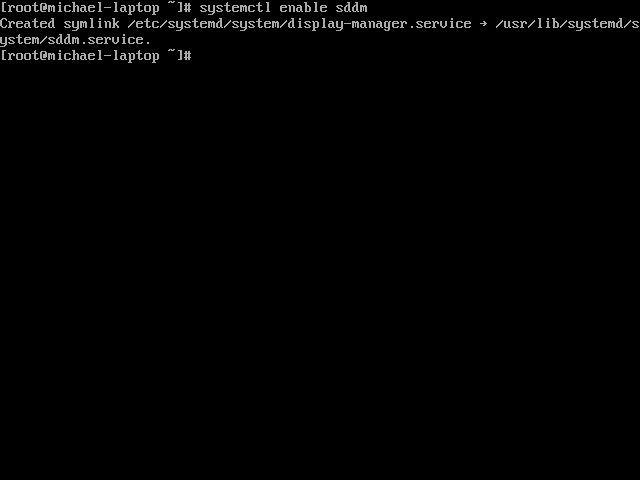
Edit the SDDM theme to look like plasma
SDDM doesn’t look great in KDE. However you can easily fix that by changing the theme
nano /etc/sddm.confSet the following parameters
[Theme]
Current=breeze
CursorTheme=breeze_cursors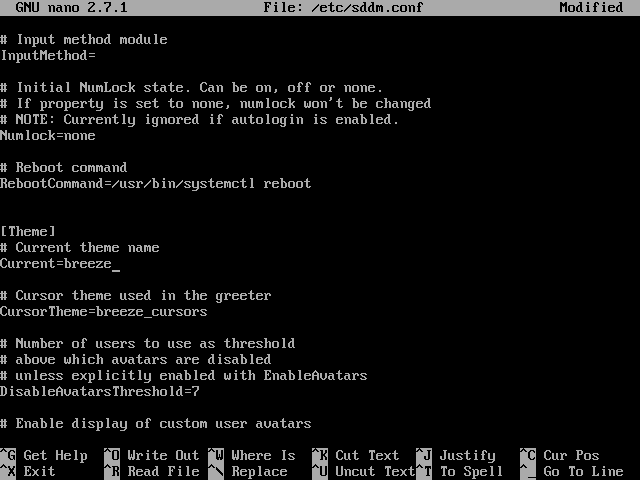
Install kde base applications - konsole, dolphin etc.
pacman -S kde-meta-kdebase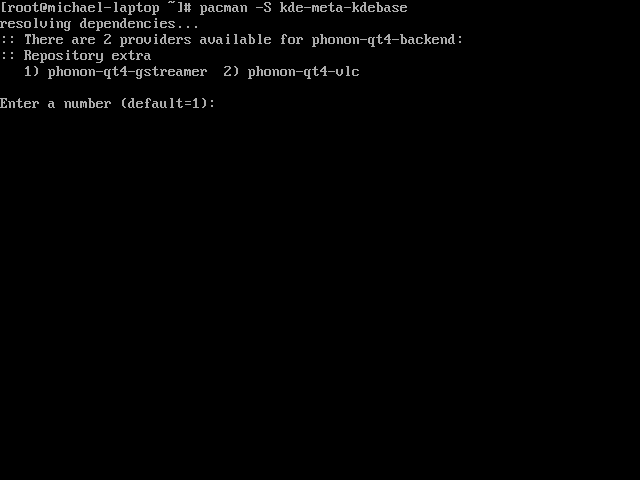
Finally, reboot and use your password to login
reboot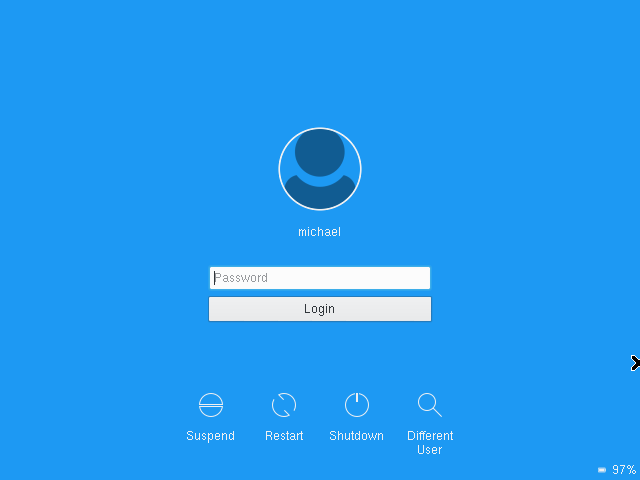

If everything looks good, make SDDM auto-login (I like to do this, but you don’t have to)
Open konsole (alt+space, type konsole, press enter)
sudo nano /etc/sddm.confNote: sudo is required now because we’re logged in as michael, not root
Set:
[Autologin]
User=michael
Session=plasma.desktop
Reboot and now the SDDM greeter should be skipped.
Other
Install sound drivers
ALSA is already included with the linux kernel and is recommended because usually it works out of the box (it just needs to be unmuted).
Unmute audio and test if sound works

OSS is a viable alternative in case ALSA does not work.
Add an AUR helper
The Arch User Repository is a community-driven repository of packages. Some packages include spotify, skype and dropbox. The easiest way to install packages from the AUR is by using an AUR helper and the one I like to use is called packer. Other AUR helpers do exist.
To install packer, you have to download and build it manually. I’ve made a shell script that does this automatically which you can run using:
curl -s https://gist.githubusercontent.com/seymour7/d1f4651a8089c5ec6f0c5a896a78ee34/raw/packer_install.sh | bash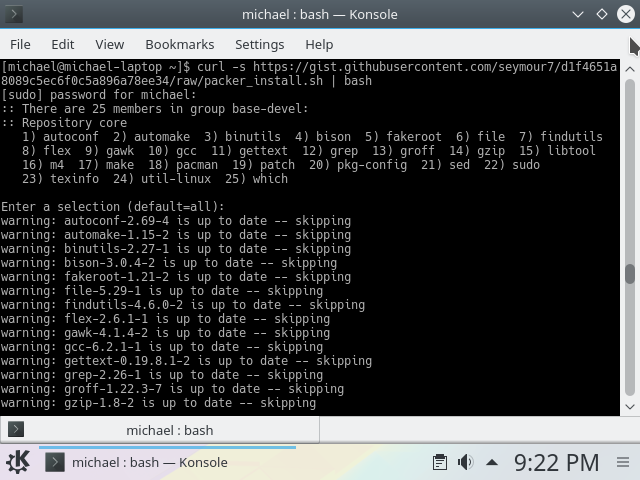
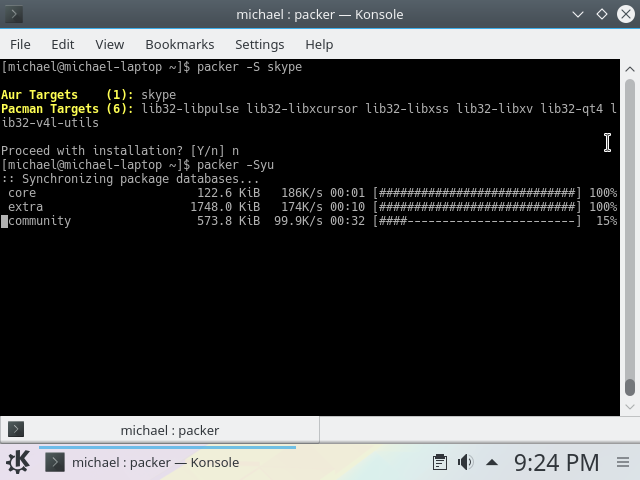
Use packer in the same way as pacman (packer -S <package>). Don’t use sudo in front of packer, if it needs administrative permissions it will ask you to enter the root password.
Shorten grub timeout
I like to reduce the GRUB timeout from 5 seconds down to 2 seconds.
sudo nano /etc/default/grubSet
GRUB_TIMEOUT=2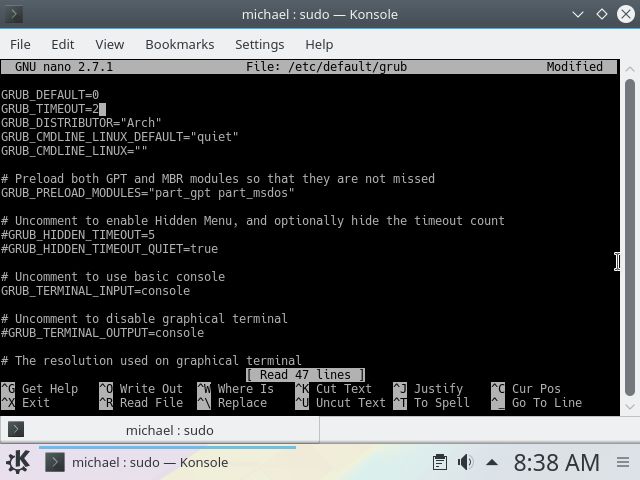
Then run
sudo grub-mkconfig -o /boot/grub/grub.cfg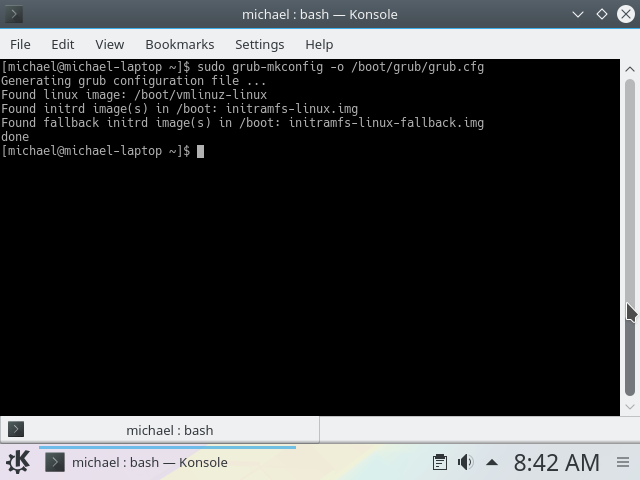
Get config files from github
I store a few of my config files on github, such as my bash config (~/.bashrc). To retrieve them, I simply cd to my home directory and clone the repo. There are many benefits to storing your config on github, but it’s really up to you.
Other
There are many post-installation configurations that one could do - see this page on the Arch wiki for other ideas.
Random Tips
Every week or two you’ll want to run sudo pacman -Syu and packer -Syu to keep your packages up to date.
To remove a package I usually use pacman -Rs package_name. The Rs means: remove the package and its dependencies which are not required by any other installed package.